

جدول محتوایی
معرفی
Flarum یک برنامه رایگان، منبع باز و نسل بعدی انجمن است که به شما کمک می کند تا انجمن گفتگوی آنلاین خود را بسازید. Flarum خارج از جعبه به نظر می رسد و احساس خوبی دارد. رابط کاربری ساده شده است، بنابراین می توانید زمان کمتری را برای کلیک کردن و زمان بیشتری را صرف صحبت کنید.
پیش نیازها :
سیستمی با Debian 12 نصب و اجرا شده است.
دسترسی root به سیستم
LAMP Stack نصب و اجرا شده است، برای این کار می توانید به یکی از راهنماهای ما در مورد نصب LAMP Stack (Apache، MariaDB و PHP) مراجعه کنید.

سیستم را به روز کنید.
apt update

apt upgrade
یک پایگاه داده Flarum ایجاد کنید
mysql
با دستور زیر دیتابیس و یوزر بسازید.
رمز عبور را با یک رمز عبور قوی و مطمئن جایگزین کنید.
MariaDB [(none)]> CREATE DATABASE flarum;
MariaDB [(none)]> CREATE USER 'flarum'@'localhost' IDENTIFIED BY 'password';
با استفاده از دستور زیر تمام امتیازات را به پایگاه داده flarum اعطا کنید.
MariaDB [(none)]> GRANT ALL PRIVILEGES ON flarum.* TO 'flarum'@'localhost';امتیازات را پاک کنید و خارج شوید،
MariaDB [(none)]> FLUSH PRIVILEGES;
MariaDB [(none)]> EXIT;
Composer را نصب کنید
کامپوزر را با استفاده از دستور زیر نصب کنید
apt install curl -y

curl -s https://getcomposer.org/installer | php
خروجی:
root@vps:~# curl -s https://getcomposer.org/installer | php
All settings correct for using Composer
Downloading...

Composer (version 2.5.8) successfully installed to: /root/composer.phar
Use it: php composer.phar

root@vps:~#
فایل باینری Composer را با دستور زیر به پوشه /usr/local/bin/ منتقل کنید.
mv composer.phar /usr/local/bin/composerتأیید نسخه Composer با استفاده از دستور زیر،
composer -Vخروجی:
root@vps:~# composer -V
Do not run Composer as root/super user! See https://getcomposer.org/root for details
Continue as root/super user [yes]? yes
Composer version 2.5.8 2023-06-09 17:13:21
root@vps:~#
Flarum را نصب کنید
نیاز به ایجاد دایرکتوری برای Flarum در داخل فهرست وب آپاچی،
mkdir /var/www/html/flarumآخرین نسخه Flarum را با استفاده از Composer در پوشه /var/www/html/flarum دانلود کنید،
cd /var/www/html/flarum

composer create-project flarum/flarum . --stability=beta
تمام وابستگی های PHP را نصب کنید،
composer installمالکیت Flarum را به www-data تغییر دهید و مجوزها را با استفاده از دستور زیر تنظیم کنید.
chown -R www-data:www-data /var/www/html/flarum/

chmod -R 755 /var/www/html/flarum/
Flarum را با آپاچی پیکربندی کنید.
فایل پیکربندی میزبان مجازی Apache را برای میزبان Flarum ایجاد کنید،
nano /etc/apache2/sites-available/flarum.confخطوط زیر را اضافه کنید،
<VirtualHost *:80>
 ServerAdmin flarum.domainhere.info
 DocumentRoot /var/www/html/flarum/public
 ServerName flarum.domainhere.info
 DirectoryIndex index.php
 <Directory /var/www/html/flarum/public/>
Options +FollowSymLinks
AllowOverride All
Order allow,deny
allow from all
 </Directory>
</VirtualHost>
نام دامنه واقعی را جایگزین flarum.domainhere.info کنید.
با استفاده از دستور زیر، میزبان مجازی Flarum و ماژول بازنویسی آپاچی را فعال کنید.
a2ensite flarum

a2enmod rewrite
برای اعمال تغییرات، سرویس Apache را مجددا راه اندازی کنید،
systemctl restart apache2

systemctl status apache2
خروجی :
root@vps:/var/www/html/flarum# systemctl status apache2
● apache2.service - The Apache HTTP Server
     Loaded: loaded (/lib/systemd/system/apache2.service; enabled; preset: enabled)
     Active: active (running) since Thu 2023-06-15 21:07:31 UTC; 4s ago
       Docs: https://httpd.apache.org/docs/2.4/
    Process: 17805 ExecStart=/usr/sbin/apachectl start (code=exited, status=0/SUCCESS)
   Main PID: 17810 (apache2)
      Tasks: 6 (limit: 4652)
     Memory: 16.2M
        CPU: 289ms
     CGroup: /system.slice/apache2.service
             ├─17810 /usr/sbin/apache2 -k start
             ├─17811 /usr/sbin/apache2 -k start
             ├─17812 /usr/sbin/apache2 -k start
             ├─17813 /usr/sbin/apache2 -k start
             ├─17814 /usr/sbin/apache2 -k start
             └─17815 /usr/sbin/apache2 -k start
Flarum ایمن با Let’s Encrypt SSL
ابتدا با استفاده از دستور زیر، کلاینت Certbot Let’s Encrypt را نصب کنید.
apt-get install python3-certbot-apache -yدستور زیر را برای نصب Let’s Encrypt SSL برای سایت Flarum اجرا کنید.
certbot --apache -d flarum.domainhere.info
از شما خواسته می شود آدرس ایمیل خود را ارائه دهید و شرایط را بپذیرید،
Saving debug log to /var/log/letsencrypt/letsencrypt.log
Plugins selected: Authenticator apache, Installer apache
Enter email address (used for urgent renewal and security notices) (Enter 'c' to
cancel): Your_Email_Address

- - - - - - - - - - - - - - - - - - - - - - - - - - - - - - - - - - - - - - - -
Please read the Terms of Service at
https://letsencrypt.org/documents/LE-SA-v1.2-November-15-2017.pdf. You must
agree in order to register with the ACME server at
https://acme-v02.api.letsencrypt.org/directory
- - - - - - - - - - - - - - - - - - - - - - - - - - - - - - - - - - - - - - - -
(A)gree/(C)ancel: A

- - - - - - - - - - - - - - - - - - - - - - - - - - - - - - - - - - - - - - - -
Would you be willing to share your email address with the Electronic Frontier
Foundation, a founding partner of the Let's Encrypt project and the non-profit
organization that develops Certbot? We'd like to send you email about our work
encrypting the web, EFF news, campaigns, and ways to support digital freedom.
- - - - - - - - - - - - - - - - - - - - - - - - - - - - - - - - - - - - - - - -
(Y)es/(N)o: Y
Obtaining a new certificate
Performing the following challenges:
http-01 challenge for flarum.domainhere.info
Waiting for verification...
Cleaning up challenges
Created an SSL vhost at /etc/apache2/sites-available/flarum-le-ssl.conf
Enabled Apache socache_shmcb module
Enabled Apache ssl module
Deploying Certificate to VirtualHost /etc/apache2/sites-available/flarum-le-ssl.conf
Enabling available site: /etc/apache2/sites-available/flarum-le-ssl.conf
انتخاب کنید که آیا ترافیک HTTP به HTTPS هدایت شود یا خیر.
Please choose whether or not to redirect HTTP traffic to HTTPS, removing HTTP access.
- - - - - - - - - - - - - - - - - - - - - - - - - - - - - - - - - - - - - - - -
1: No redirect - Make no further changes to the webserver configuration.
2: Redirect - Make all requests redirect to secure HTTPS access. Choose this for
new sites, or if you're confident your site works on HTTPS. You can undo this
change by editing your web server's configuration.
- - - - - - - - - - - - - - - - - - - - - - - - - - - - - - - - - - - - - - - -
Select the appropriate number [1-2] then [enter] (press 'c' to cancel): 2
خروجی:
Redirecting vhost in /etc/apache2/sites-enabled/flarum.conf to ssl vhost in /etc/apache2/sites-available/flarum-le-ssl.conf

- - - - - - - - - - - - - - - - - - - - - - - - - - - - - - - - - - - - - - - -
Congratulations! You have successfully enabled https://flarum.domainhere.info

You should test your configuration at:
https://www.ssllabs.com/ssltest/analyze.html?d=flarum.domainhere.info
- - - - - - - - - - - - - - - - - - - - - - - - - - - - - - - - - - - - - - - -

IMPORTANT NOTES:
 - Congratulations! Your certificate and chain have been saved at:
   /etc/letsencrypt/live/flarum.domainhere.info/fullchain.pem
   Your key file has been saved at:
   /etc/letsencrypt/live/flarum.domainhere.info/privkey.pem
   Your cert will expire on 2020-11-21. To obtain a new or tweaked
   version of this certificate in the future, simply run certbot again
   with the "certonly" option. To non-interactively renew *all* of
   your certificates, run "certbot renew"
 - Your account credentials have been saved in your Certbot
   configuration directory at /etc/letsencrypt. You should make a
   secure backup of this folder now. This configuration directory will
   also contain certificates and private keys obtained by Certbot so
   making regular backups of this folder is ideal.
 - If you like Certbot, please consider supporting our work by:

   Donating to ISRG / Let's Encrypt:   https://letsencrypt.org/donate
   Donating to EFF:                    https://eff.org/donate-le

 - We were unable to subscribe you the EFF mailing list because your
   e-mail address appears to be invalid. You can try again later by
   visiting https://act.eff.org.
مرورگر خود را پیمایش کنید:
flarum.domainhere.info را با actual_domain_name جایگزین کنید.
https://cutomer-domain.here
دیتابیس و مشخصات کاربر را پر کنید،
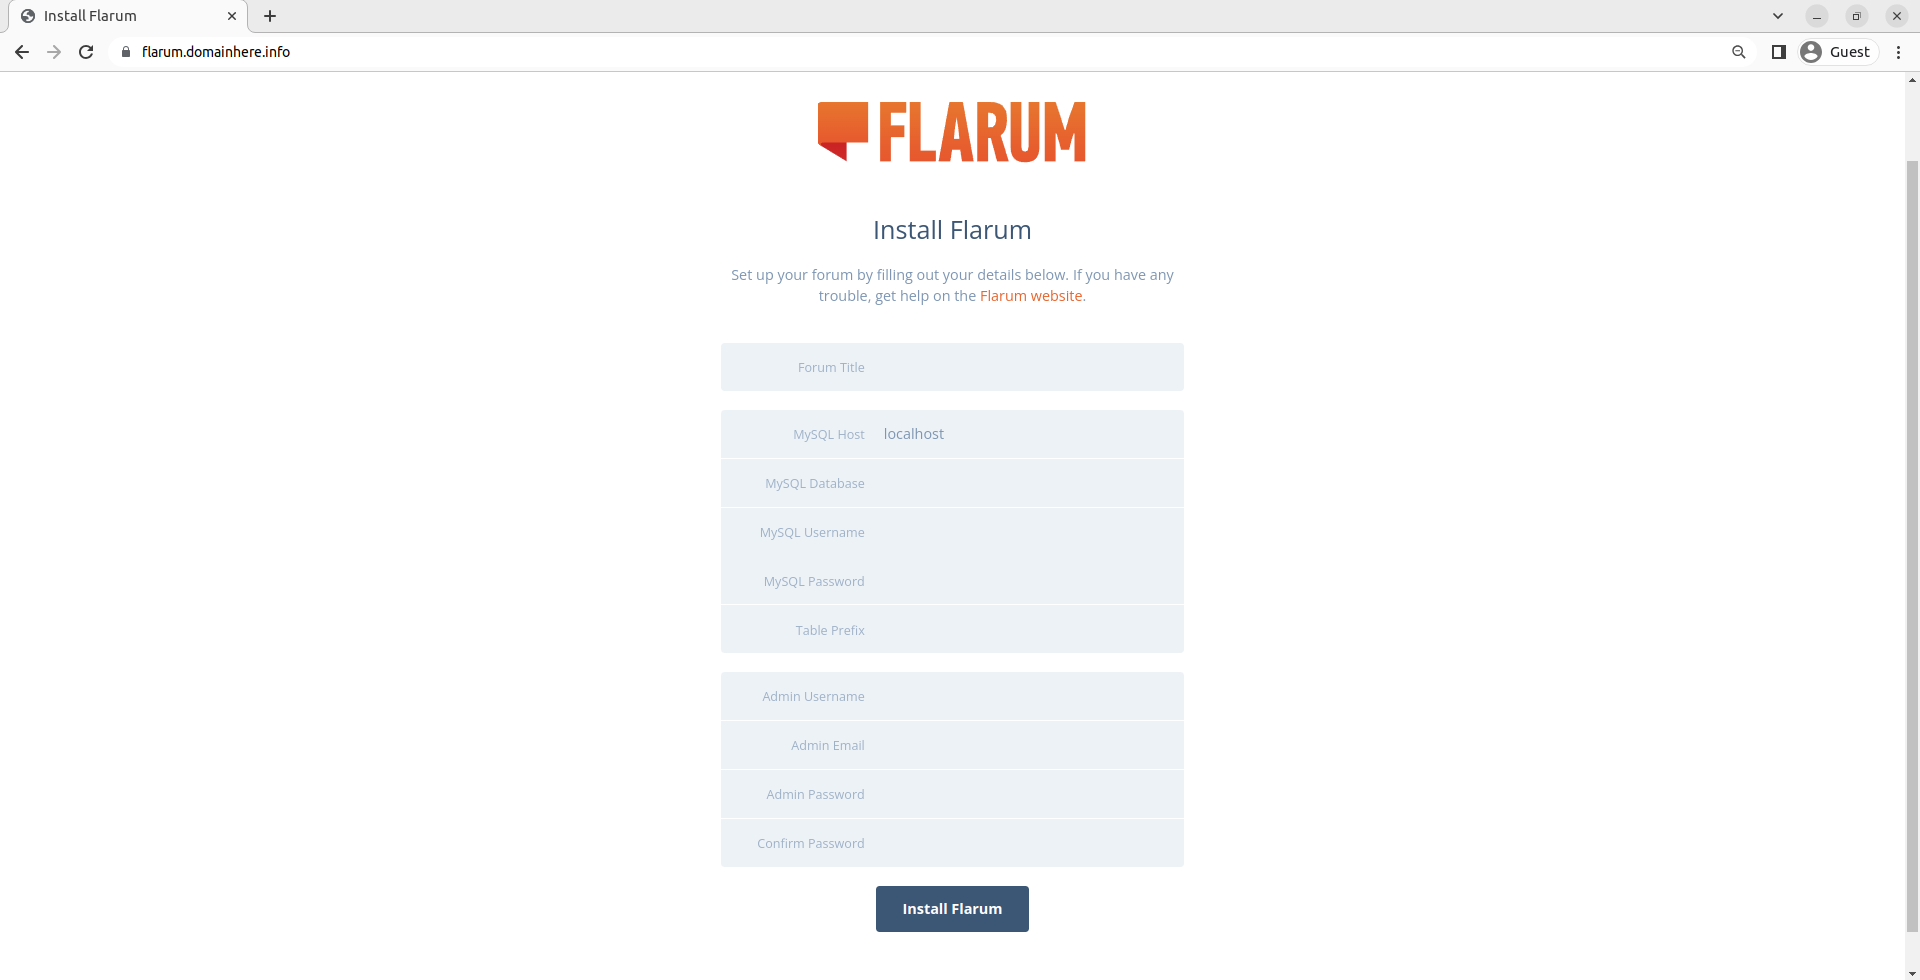
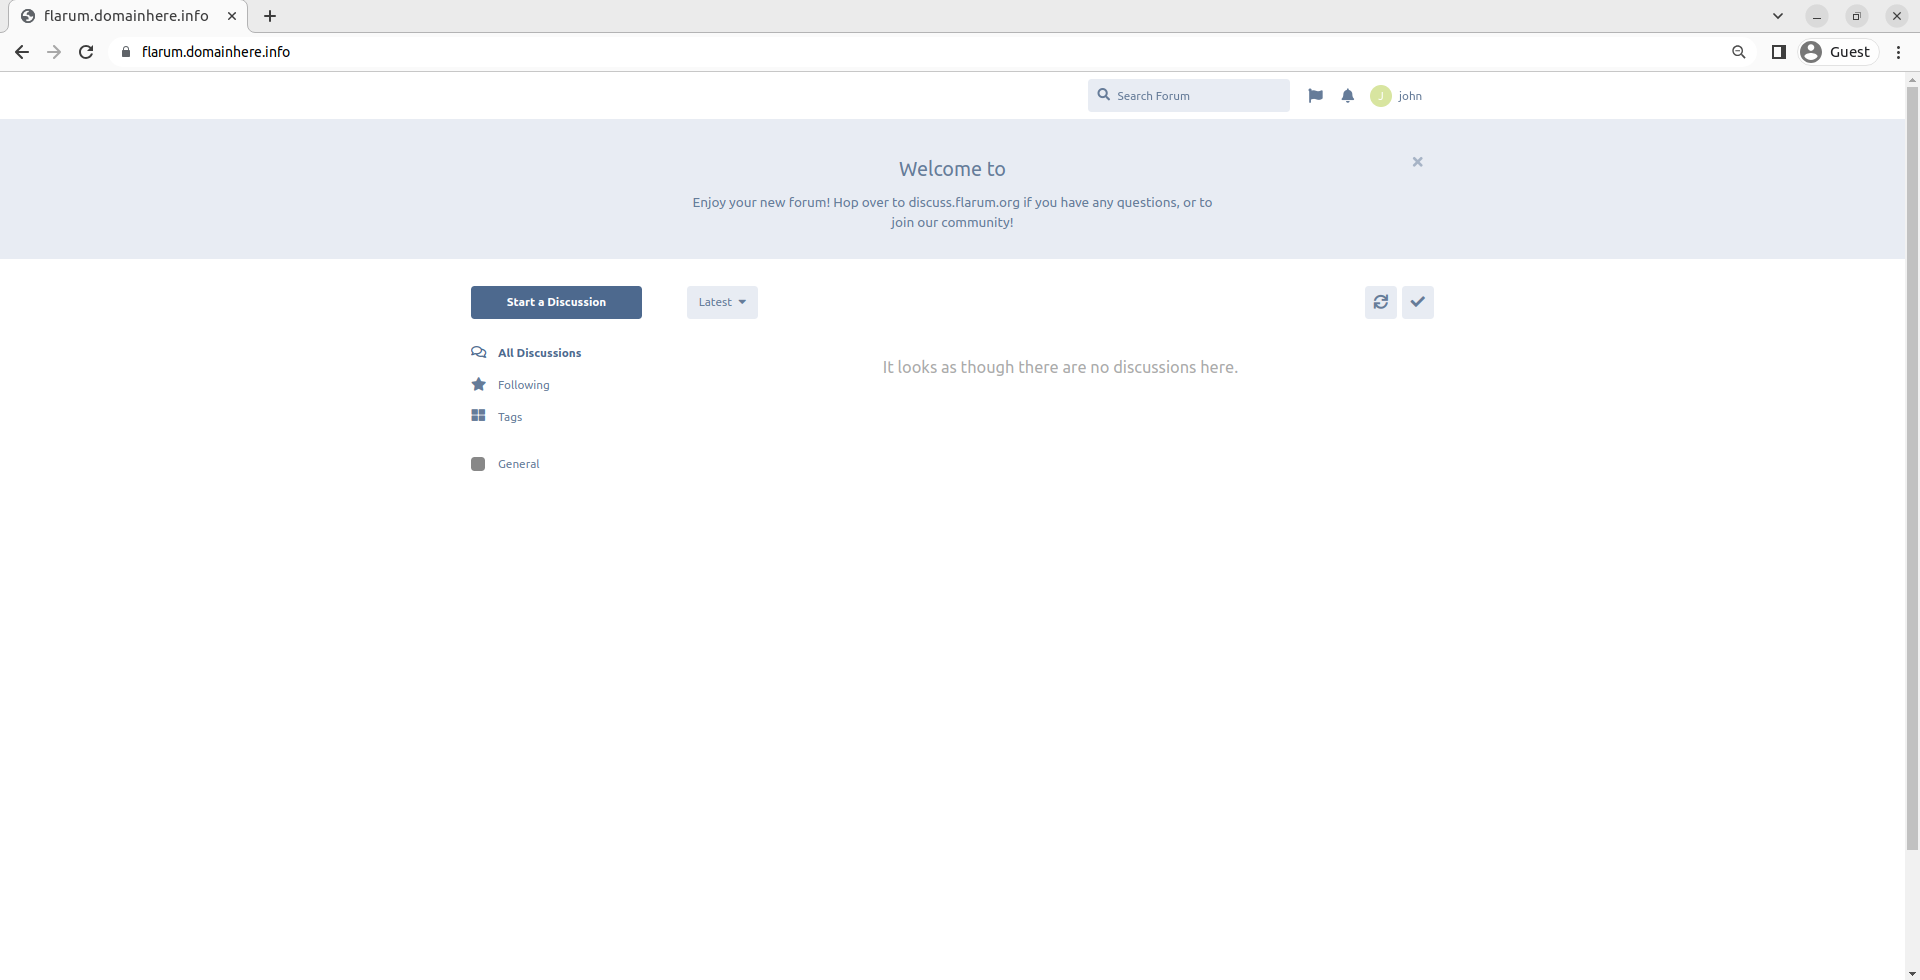
اکنون، Flarum را نصب کنید و داشبورد را خواهید دید،
ممنون که مثل همیشه همراه ما بودید با موفق و سربلند باشید D: